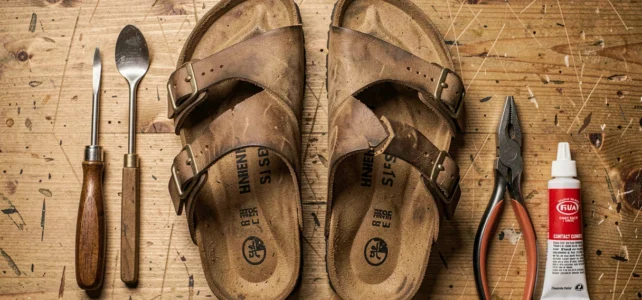
A strap that breaks on a pair of Birkenstocks often marks the beginning of a dilemma. The sole is still good, the footbed perfectly molded to your arch, but the sandal becomes unwearable. Before tossing a pair whose comfort has built up over the months, repairing the strap deserves serious consideration.
Identify the type of break before touching the strap
Not all Birkenstock straps break in the same way. On an Arizona model, the upper leather or Birko-Flor strap may tear at the buckle. On a Mayari, it’s more likely the toe post that gives way due to repeated flexing.
Have you noticed that the break almost always occurs in the same spot? That’s normal. The foot’s bending zone concentrates mechanical stress with each step. The material wears out from fatigue, not by accident.
Distinguishing a detached strap from a torn strap changes everything for the next steps. A detachment (the strap coming off the sole) can be repaired with glue. A clean tear in the material itself often requires stitching or even a complete replacement of the strap. The action to take, and the difficulty, are not the same at all.
A comprehensive guide on Birkenstock strap repair helps clarify what falls under DIY and what requires a cobbler’s intervention.
Flexible glue or rigid glue: why the choice of product determines everything
This is the classic trap of DIY repair. You grab the first strong glue in the drawer, press the strap against the sole, wait, and the repair breaks again after a few days of walking.
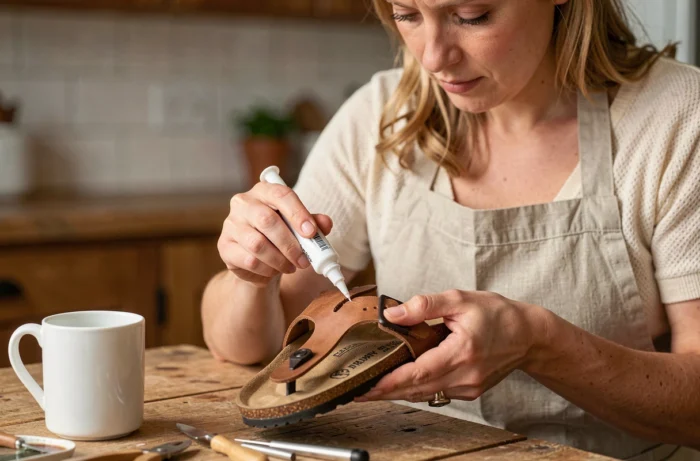
The reason is simple. A rigid glue cannot withstand the repeated flexing of a bending zone. Each step creates a mechanical stress that eventually causes the joint to crack. It’s like gluing glass to rubber: it holds when still, but not when in motion.
User feedback from those who repair sandals converges on flexible contact glues, designed to remain flexible after drying. The names that come up in repair communities are Barge Cement and Shoe Goo, two products formulated for working with leather and synthetic shoe materials.
The application principle is the same for both:
- Clean both surfaces to be glued (strap and sole) with a slightly damp cloth to remove dust and old glue residues
- Apply a thin layer of glue on each side, let dry for a few minutes until the surface becomes tacky to the touch
- Firmly press the two surfaces together and maintain pressure with a clamp, a thick rubber band, or a weight for several hours
The complete curing time determines the strength of the bond. Removing the pressure too soon means starting over. It’s better to leave the sandal immobile for an entire night.
Protect the exposed cork after repair
When removing or handling the strap, a portion of the cork from the sole is often exposed. This detail goes unnoticed, but it can compromise the durability of the entire sandal, not just the repair.
Birkenstock cork absorbs moisture. Without protection, it swells, cracks, and then crumbles. The sole gradually loses its anatomical support, the very thing that makes these sandals so comfortable after months of breaking in.
Applying a cork sealant to any visible cork area after the intervention is a step that many amateur repairers forget. This product forms a thin waterproof barrier that does not alter the flexibility or shape of the cork. It can be found in tubes or bottles at specialized shoe care retailers.
This action takes less than five minutes, but it extends the life of the sole well beyond just the strap repair.
Cobbler or DIY repair: when to switch to a professional
A strap that is simply detached over a small area can be re-glued at home with the right products and a bit of patience. Why pay a cobbler for a repair that can be done yourself?
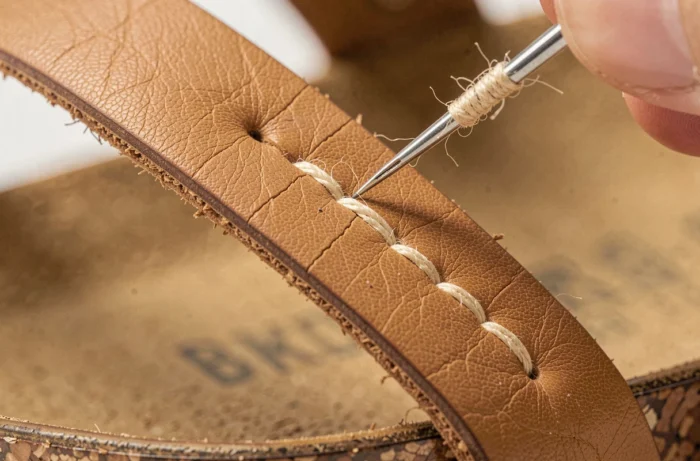
The answer depends on the extent of the damage. If the strap is torn in the material (split leather, Birko-Flor cracked over several centimeters), gluing alone will not suffice. A specialized stitching with strong thread requires equipment that you won’t find in a kitchen drawer: a sewing machine suitable for leather, waxed thread, awl.
The other case that justifies a visit to the cobbler is the complete replacement of the strap. Some workshops have Birkenstock-compatible straps that they adjust to the correct length and secure with riveting or saddle stitching. The result is more durable than a glue job and visually cleaner.
To assess whether your case falls under DIY or cobbler work, check these criteria:
- Is the tear more than two centimeters long? If so, professional stitching will be more reliable
- Has the strap been re-glued once without success? Recurrence indicates a mechanical problem that gluing alone cannot resolve
- Is the cork under the strap cracked or crumbling? The cobbler can address both issues at the same time
Adjusting the straps without causing the next break
Once the strap is repaired, the temptation is to tighten it more to compensate for the looseness that has developed over time. This is exactly what you should not do.
Excessive tightening concentrates stress on the bending zone and accelerates recurrence. The strap works more with each flex of the foot, the material fibers fatigue faster, and the break returns in a few weeks.
The correct adjustment allows a finger to fit between the strap and the top of the foot. This is enough to keep the foot in place without stressing the attachment points. If the buckle no longer allows this adjustment because the leather has stretched, a cobbler can add an extra hole neatly, without weakening the strap.
The most durable repair is the one that reduces tension on the weakened area, not the one that reinforces it. It’s counterintuitive, but this is confirmed by feedback from experienced repairers.